Make a 3D version of your logo in minutes: Part 1
From time to time the desire might hit you to have a 3D version of your logo. Whether it's sheer curiosity or for a particular project, the urge to be able to orbit around your logo is a strangely strong one.
But what's the quickest way to achieve this? Do you need to be a 3D expert? Luckily, it's really easy!
What you need
- An SVG version of your logo. If you have an EPS or AI version of your logo, you can convert it for free online. Your logo must be in one of these formats as they contain vector data that 3D software can use to create your logo in 3D.
- 3D software - We recommend Blender as it is incredibly powerful software but also completely free and open source!
That's it, once you've gathered these 2 items you're ready to make a 3D version of your logo.
Open Blender and click behind the splash screen to close it. This will give you the default scene which is empty apart from the default cube. You can delete this by clicking on it, hitting X and then confirming you'd like to delete it.
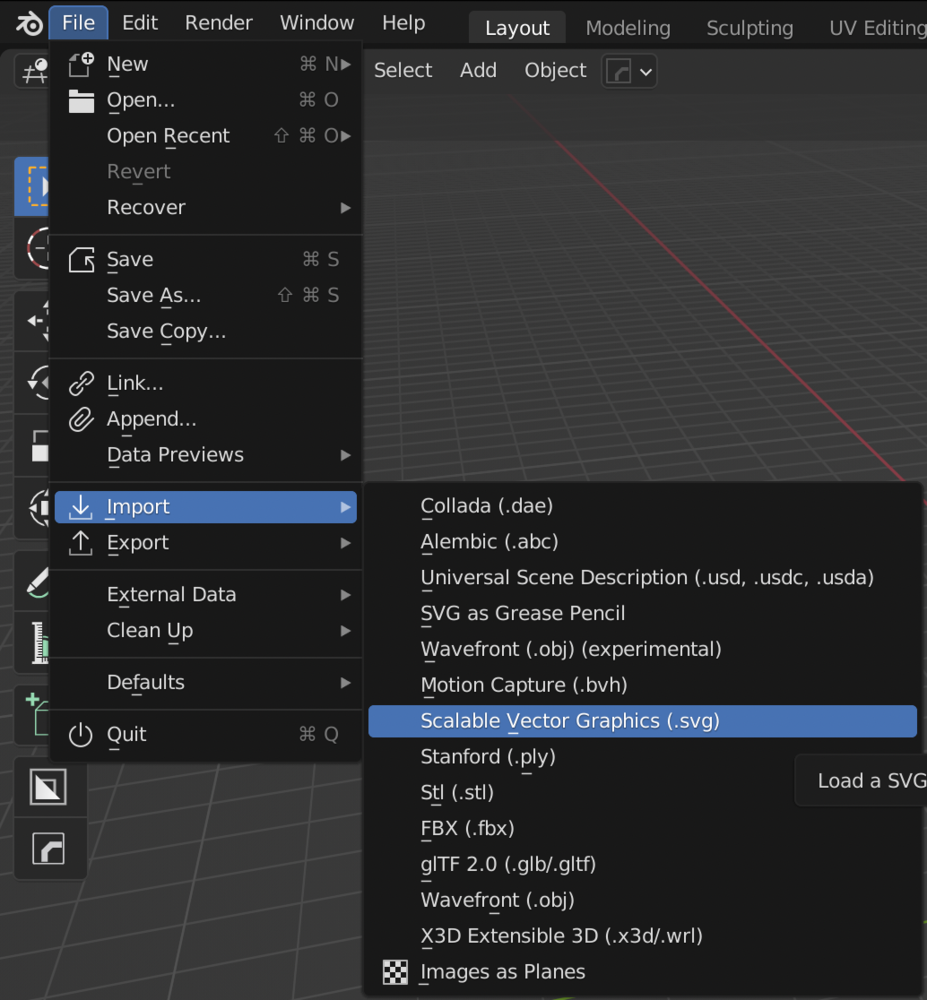
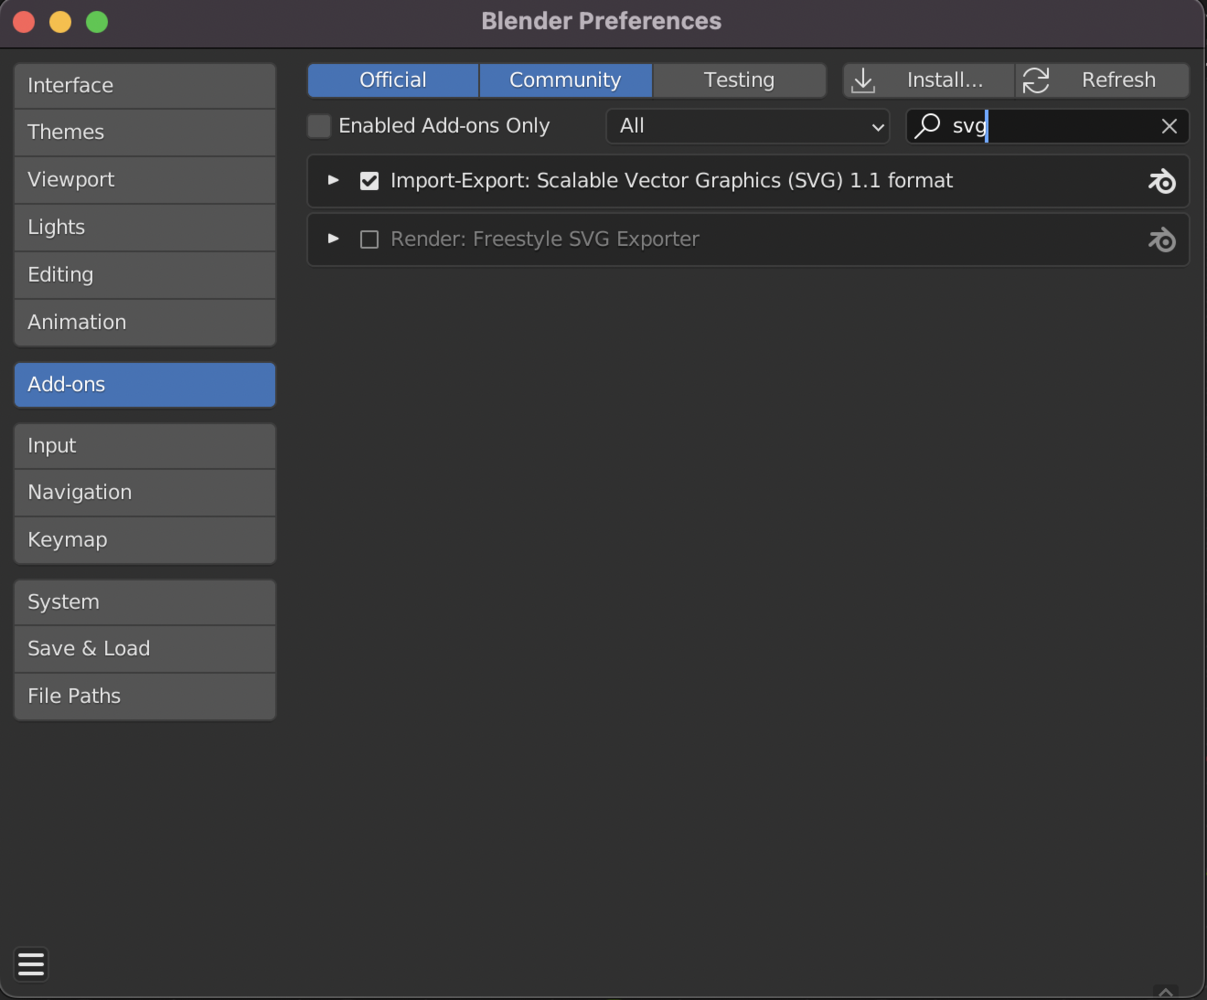
Go to File > Import > Scalable Vector Graphics (.svg). If you don't see this option, go to Edit > Preferences > Add-ons and type SVG in the search box. Enable to add-on by clicking the check-box.
Once you've located your SVG file, hit import. It may look like nothing as happened, but a very tiny version of logo will now be in the middle of the scene. We have no idea why it's so tiny, but it always is.
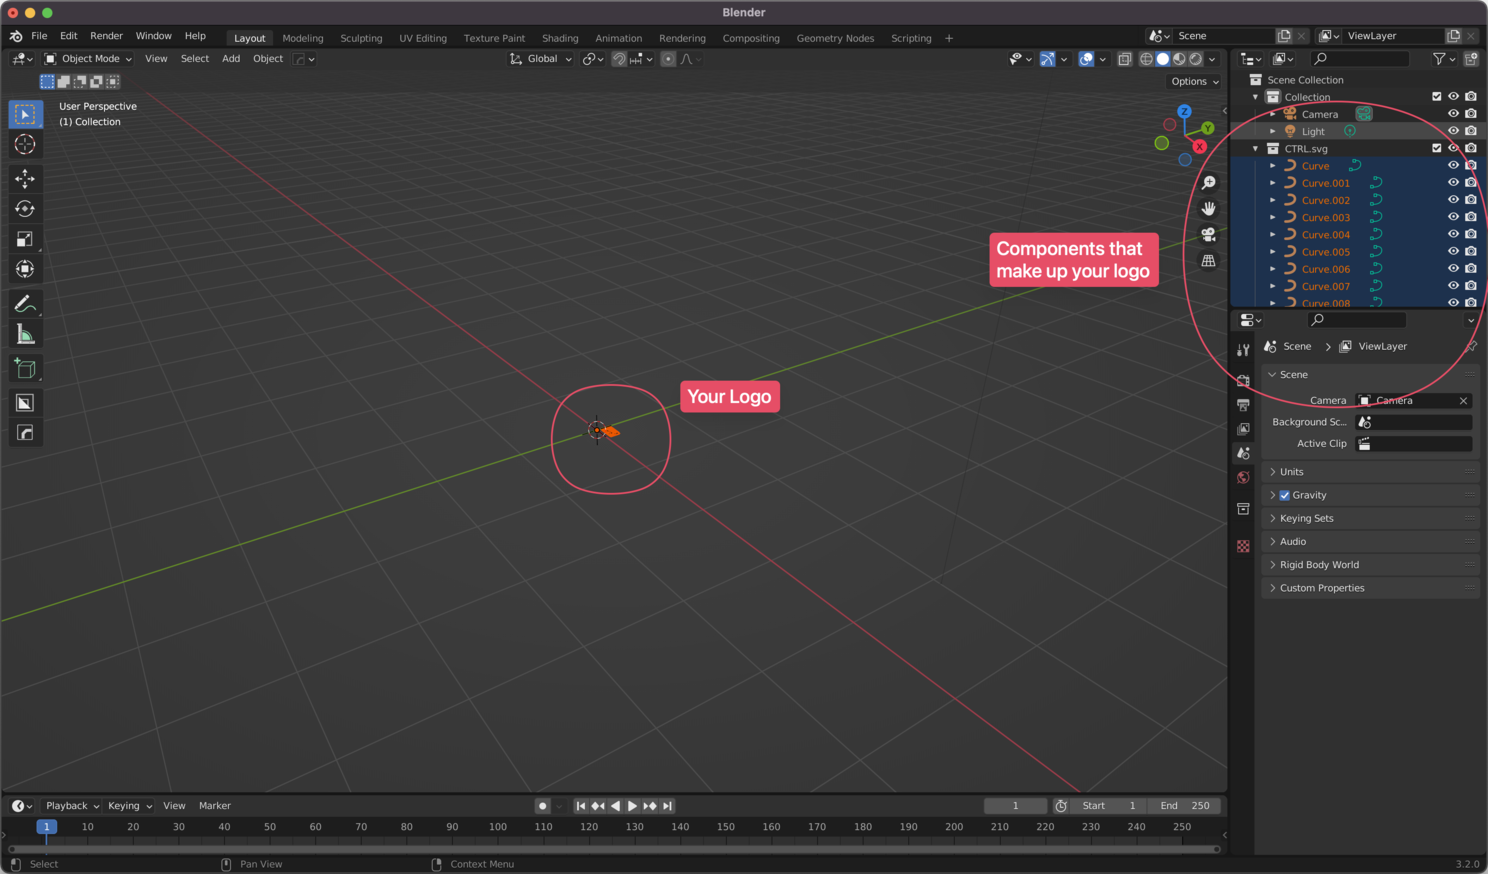
Click and drag to select your logo in the middle of the scene and press S to start scaling it up. Move the mouse to the right to make it larger and left to make it smaller. Scale it to the point where you can clearly see your logo.
Everything should be looking right except it's a little... Flat. That's because your logo was create with an X and a Y axis, but not a Z axis. So we need to tell blender to extrude the components along the Z axis.
Before we do, if you have components of your logo that are going to all be the same depth and colour, you can group them by selecting them while holding shift, then hitting CTRL + J (Or CMND + J for Mac users). This will join them together, but we can still split them apart if needed later.
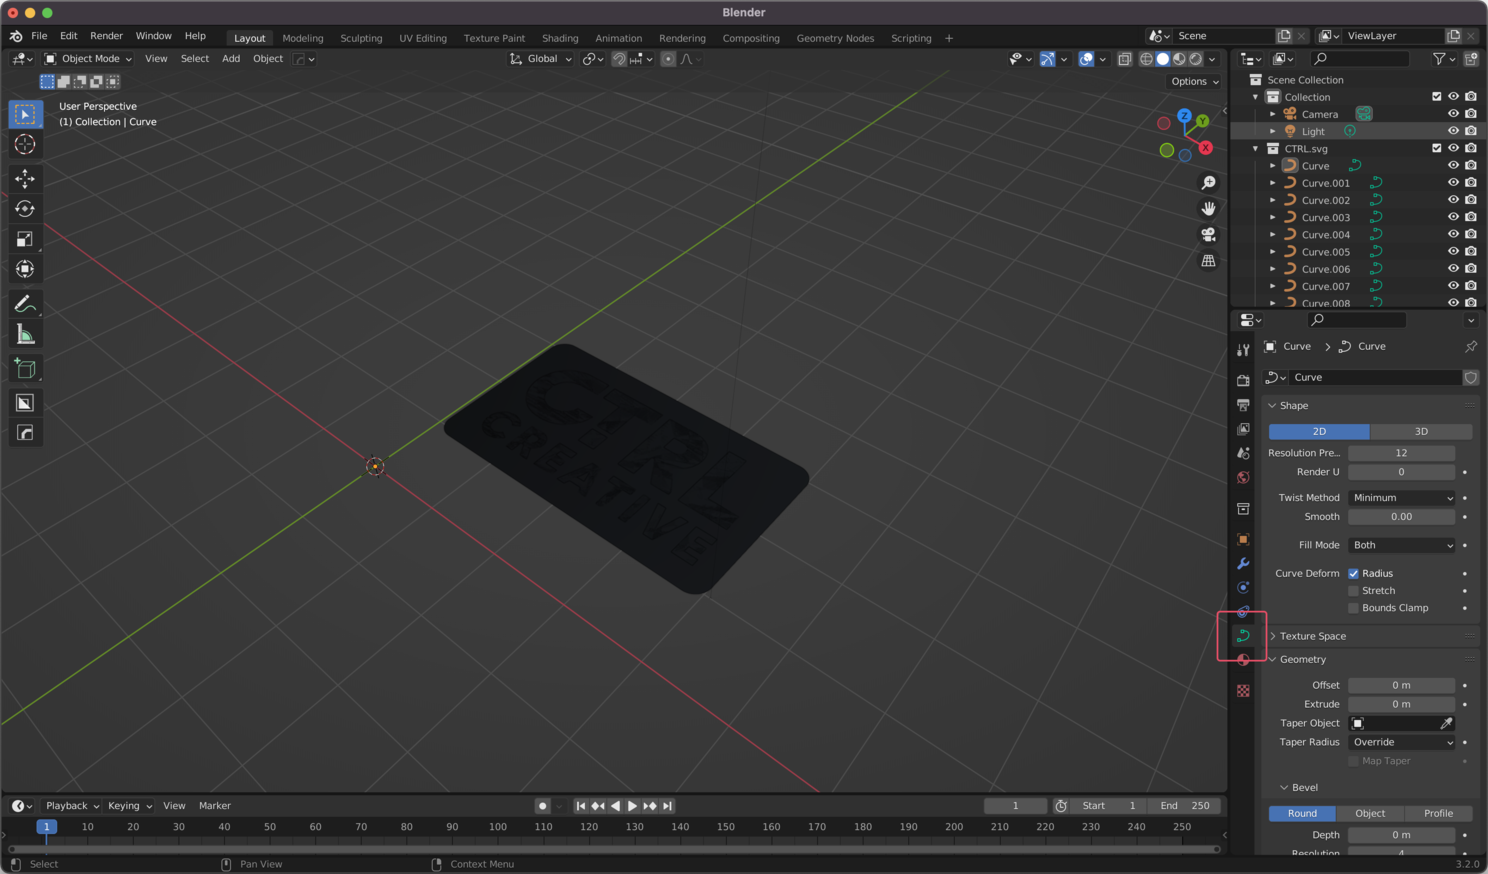
Select your logo and go to the Object Data Properties menu on the right (see screenshot). Under geometry, you'll see an 'Extrude' field.
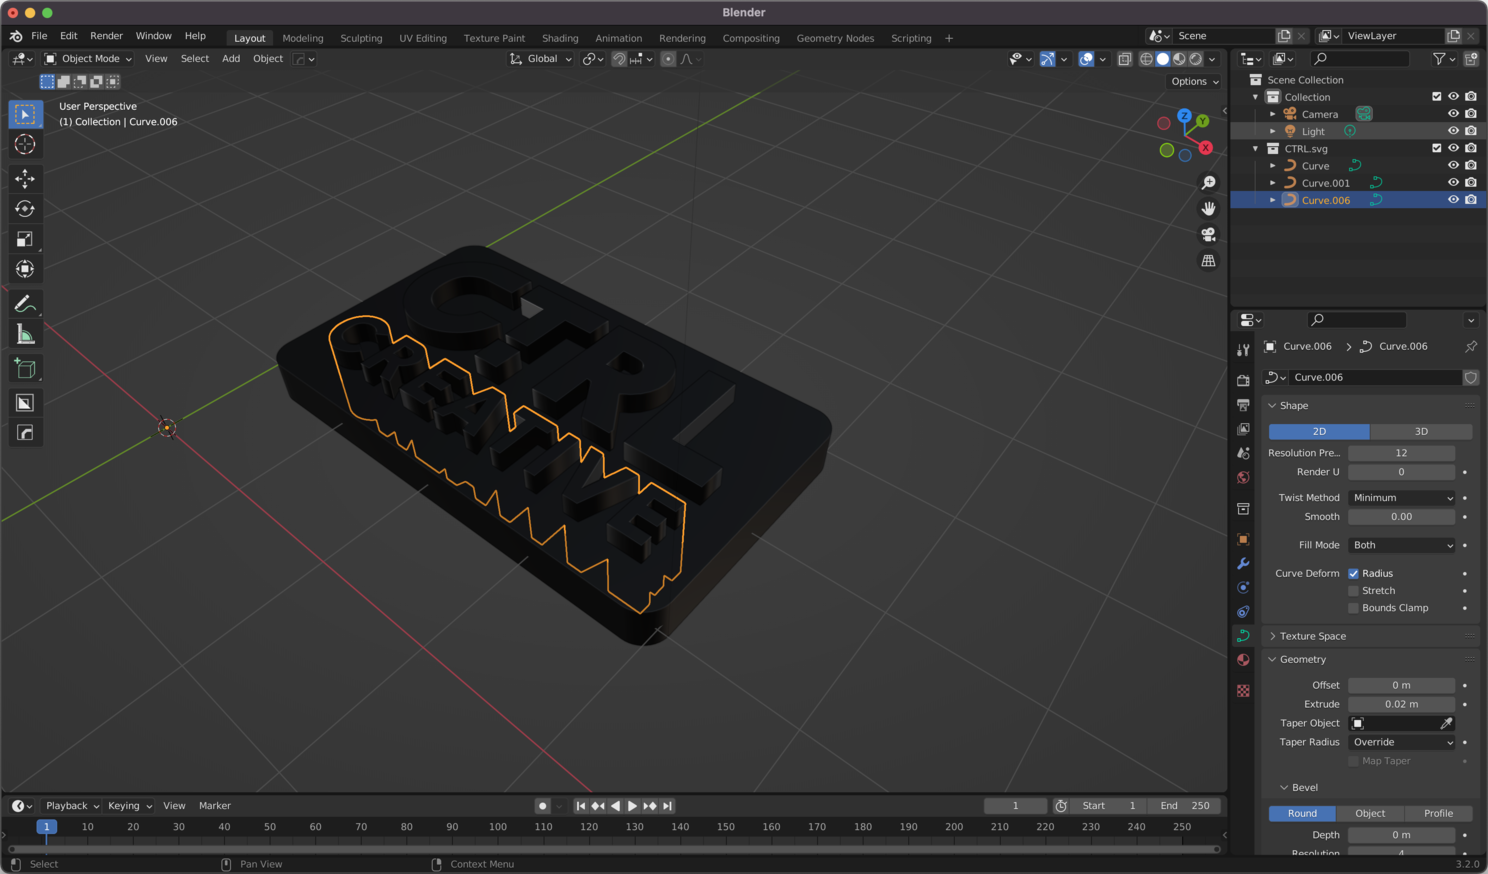
You can change the value in this field to give your logo depth. Set the extrude depth of each component so that they have the correct height.
New problem though, It's all black. How do you change the colour? Well, since Blender is 3D software, the colours are set with materials. This means that we don't just set a base colour, we can also set a bunch of other qualities of the material.
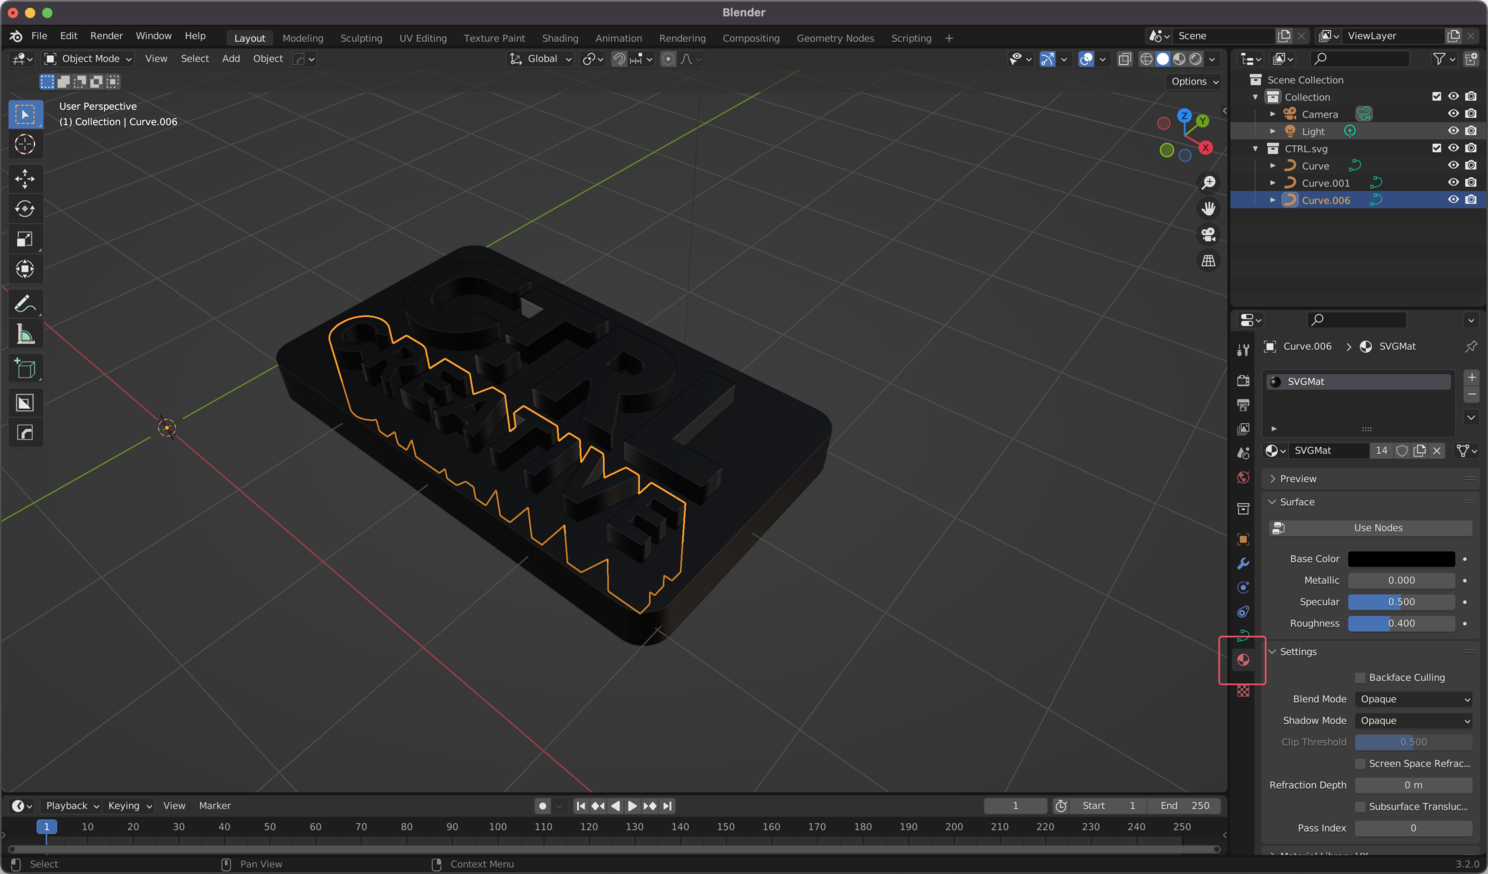
Select a part of the logo that you want to change the colour of, and go to the materials tab on the right.
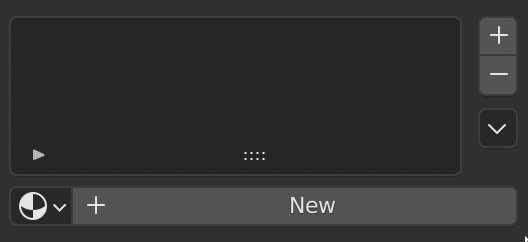
The default material that is causing your logo to look black (SvgMat) is one that we can get rid of. To remove it, click the - symbol to the right of it. Now click the New button to create a new material.
When your material is created you'll get a bunch of options. This is a lot to take in for new users, but can be a lot of fun to play with. The basics you need to know are:
- Base colour: The overall colour of the material. This might be affected by other parts of the material, so think of it as a base coat of paint.
- Metallic: How metallic is the material?
- Specular: This changes how light reflects on the surface of the object.
- Roughness: How rough is the object? At 0, it will have a perfectly mirrored reflection, at 1 it will not reflect at all.
- Transmission: How much light passes through the object? At 0, it is fully opaque, at 1 it is very transparent. This is great for creating Jelly-like materials.
- Emission: How much light does the object emit? This is great for making glowing objects.
These are just the basics, and if anybody's interested we can go into more detail on how to create materials in another article. Let us know!
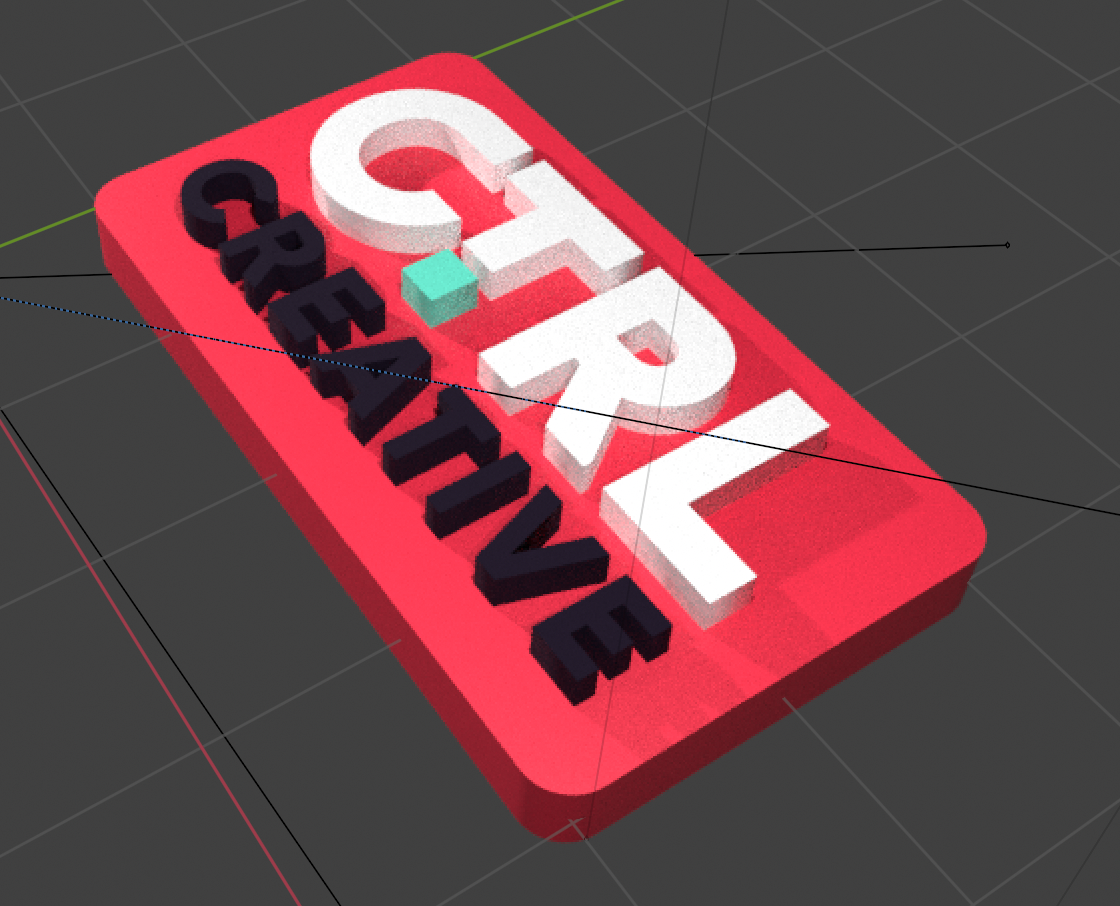
Once you've created all the separate materials, your logo should be looking more like... well, your logo! But it probably won't be as cool as what you imagined. That's because we need to set up some nice lighting and render the image in full quality.
There are some quick and easy ways to improve this, which we'll discuss in our next articles. Stay tuned!
